Painted Brake Calipers
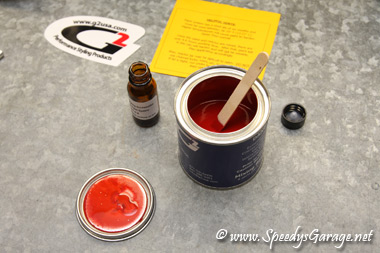
I've always liked the looks of high performance brake calipers. On performance cars the brake calipers are more pronounced due to the typically wide spoke wheels that are on performance vehicles. After checking around for caliper paint and doing some research on powder coating vs. painting, I decided to go with the G2 caliper paint system. Powder coating would have required the brake calipers to be disassembled and rebuilt and would have also been quite costly. The G2 epoxy paint system is good to 950* F, is easy to apply, and dries to an etremely hard high gloss finish. The kit includes the paint, the reactor, a small paint brush, wooden stick for mixing, brake cleaner, instructions, and a decal.
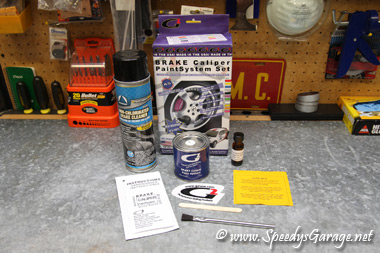
For this modification you'll need:
G2 Caliper Paint Kit in the color of your choice
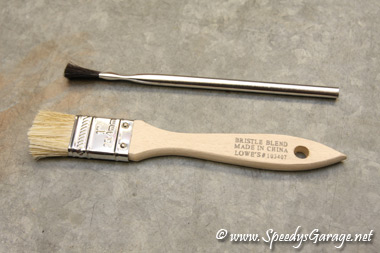
1" cheap paint brush (this is in addition to the one with the kit)
Painter's Tape
13mm socket
15mm socket
18mm crescent wrench
3/4" lug nut wrench/socket
Socket wrench
Torque wrench
Floor jack
4 Jack stands
1 quart denatured alcohol
Difficulty Rating: 

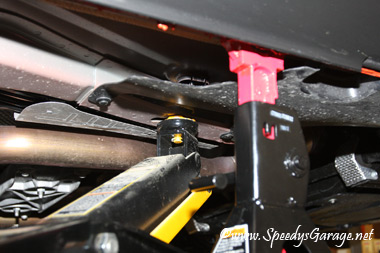
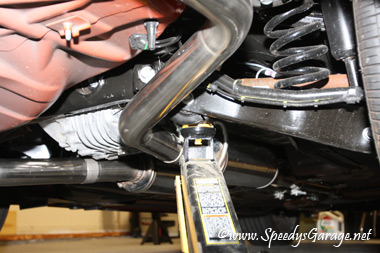
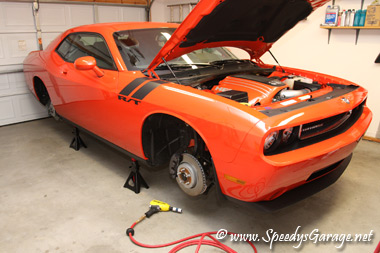
Loosen the lug nuts slightly, then raise the vehicle and support it on jack stands. I use the front frame rails and the bottom of the rear suspension as jack point to allow me to put my jack stands in place. NEVER USE A JACK TO SUPPORT A VEHICLE. ALWAYS USE JACK STANDS.
Next remove the wheels.
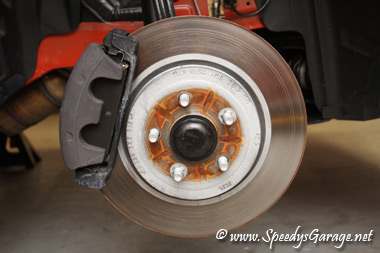
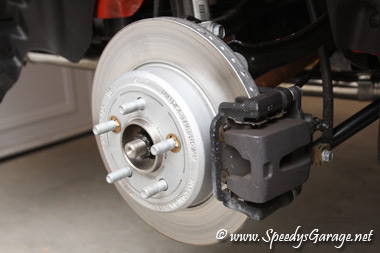
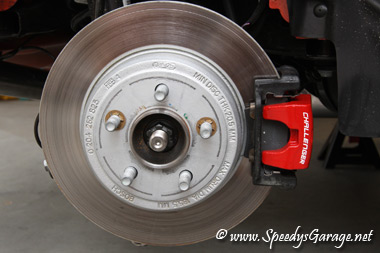
Here's what you'll start with, plain o'l cast brake calipers. Clean them with the supplied brake cleaner. I had very few miles on my Challenger so it was an easy job. If you have more miles on yours, you may want to use a tooth brush along with the spray. Make sure the calipers are very clean before applying paint.
Tape around the calipers to avoid getting any of the G2 paint on the brake pads, clips, brakets, etc.

Mix the reactor with the paint. At this point you have about 4 hours to complete the job. Also be sure the temperature is between 56* F and 70* F. I actually got up at 5:30am to make sure the temp was in this range. Epoxy products are very particular about the temperatures in which they work properly. Too cold and the product won't dry properly, too warm and the product will dry faster than expected. I used a cheap 1" paint brush on the larger parts of the calipers to speed up the painting process. I trimmed the bristles in half to make it easier as well.
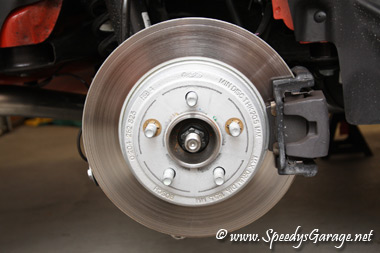
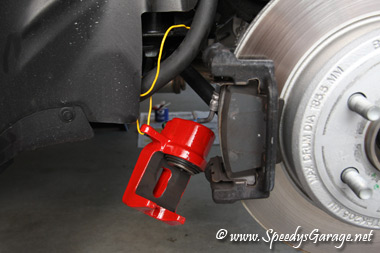
I removed the two 13mm caliper guilde bolts from the front brake calipers as well as the two 15mm guide bolts from the rear brake calipers so that I could paint around them. The front calipers are firmly seated so I left them in place, but the rear calipers were easy to remove from the mounting bracket. I hung them with wire from the rear suspension. Never let calipers hang by the brake lines.
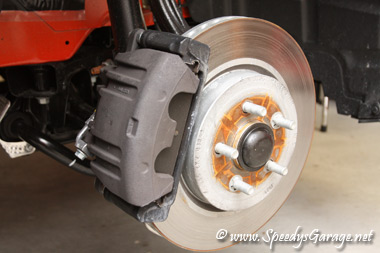
Now simply brush on the paint. I did two nice even coats 15 minutes apart, then came back and touched up any places that looked thin. Don't worry about brush strokes. As the product hardens it flattens out to a nice shiny smooth finish.

Let the paint dry at least 2 hours before putting the brake caliper guide bolts back in and re-mounting your wheels, then wait 24 hours before driving the vehicle. The front brake caliper mounting bolts should be torqued to 44 ft/lbs and the rear to 23 ft/lbs. The lug nuts should be torqued to 110 ft/lbs.
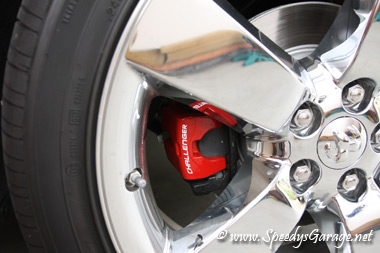
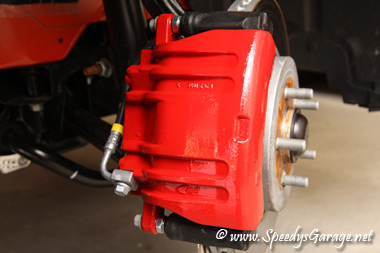
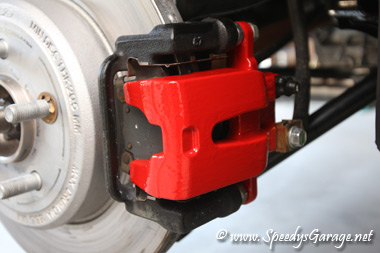
As a finishing touch I added some high temperature vinyl labels to the calipers. These are reasonably priced and fit great. Contact Craig if you want to order some of these. The letters match that of the front emblem which is a nice touch. To apply, just wipe the caliper down with rubbing alcohol, then center them on the caliper. You get one shot so be careful. Wait 15 minutes, then peel the backing off slowly and gently.
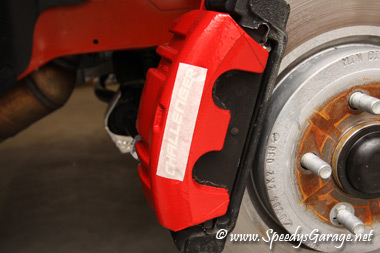
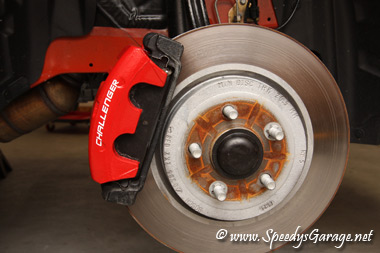
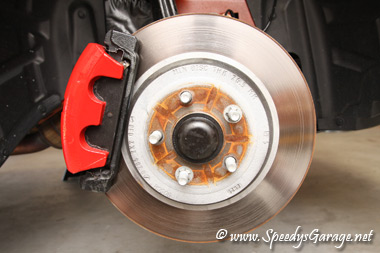
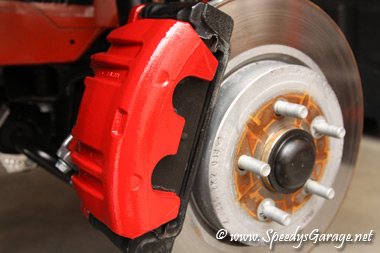
What you end up with is a very nice looking caliper.