Performance Gauges
Here's a video I shot while performing the gauge installation. Pictures are further down the page.
| Performance Gauge Installation: 36:55 |
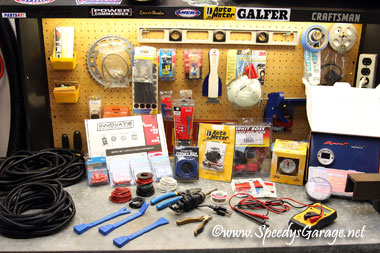
For this modification you’ll need:
PATIENCE
Gauges
LC-1 Wideband
Cirkit Boss Auxiliary Fuse Block P/N 70213
16ga wire
14ga wire
Wire Strippers/Cutters
Wire Crimper
Drill with 5/32 and 3/8 bits
Glue
Dash Pry Tools
10mm socket and wrench
Phillips head screw driver
Lots of zip ties in assorted sizes
Soldering Iron
Rosin Core Solder
18-22ga Wire T-Tap
18-22ga insulated spade connector
14-16ga insulated spade connector
Assorted Heat Shrink Tubing
Corrugated wire loom in 1/4" and 3/8" sizes (I recommend the nylon stuff that is good to 300*F)
Electrical Tape
Digital Multi Meter
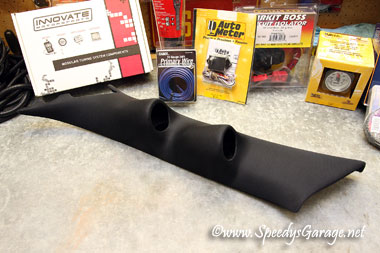
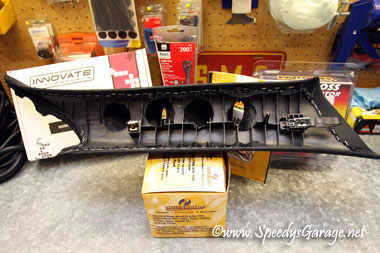
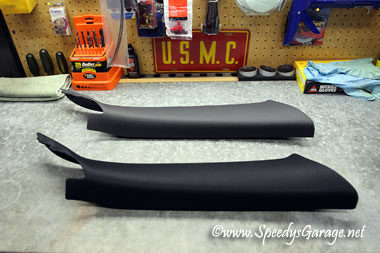
Razor's Edge Pillar Pod
Matching covered passenger pillar from Razor's Edge (optional)
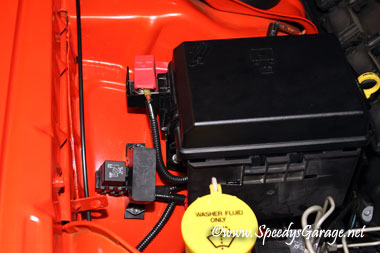
Mouser Electronics Inc. P/N 538-19420-0009 (optional pin to tap in to factory fuse box under hood)
Difficulty Rating: 

Any time you put a forced induction setup on a car, like a supercharger or turbo charger, you need to monitor a few engine parameters to make sure eveyrthing is happy. One thing in particular you want to pay attention to is your AFR (air fuel ratio). I also like to add a boost gauge just because I think they're cool to look at, and I know I'm getting the specified pressure out of the supercharger, but a boost gauge is much less critical than an AFR gauge.
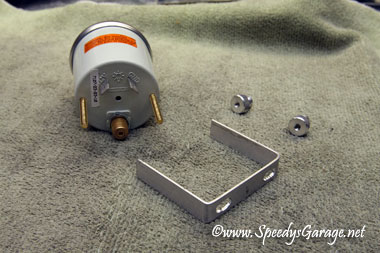
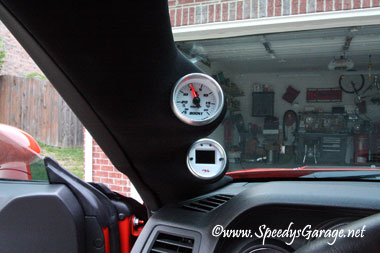
I chose an inexpensive Autometer mechanical boost gauge. A mechanical gauge has a nylon tube that runs from the gauge to a port on the supercharger and reads boost from that. The tube is pressurized as the supercharger builds pressure. There are also electronic boost gauges in which a tube runs from the supercharger to a small sensor that then converts the pressure to an electric signal that is sent to the gauge over a wired connection. Either one works fine, but the electronic versions are about three times more expensive than mechanical. I chose the "C2" style gauge from Autometer as it has a white face and lights up blue and was the closest thing I could find to the factory dash gauge lighting.
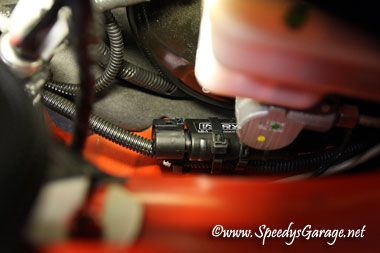
For AFR, I chose an Innovate LC-1 unit like I used on Project SportRunner. It's a digital wide band that has an O2 sensor that goes into the exhaust before the catalytic converters. This has been a very reliable unit in the 4Runner so I used it again for this project.
The LC-1 is just a sensor, so you need to connect it to a gauge to see the reading. I chose an Aeroforce Interceptor as the gauge for that. The Interceptor is highly customizable and is a digital gauge. I chose a white gauge face and blue lighting to match the rest of the car's gauges. The Interceptor has an analog input that the LC-1 connects to to see the AFR. However, the Interceptor also connects to the car's OBDII system and reads a TON of engine parameters like cat temp, ignition advance, long and short term fuel trims, command AFR etc. It's a very cool unit as you'll see in the installation video.
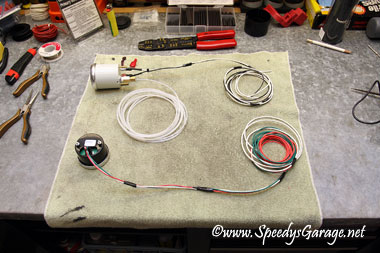
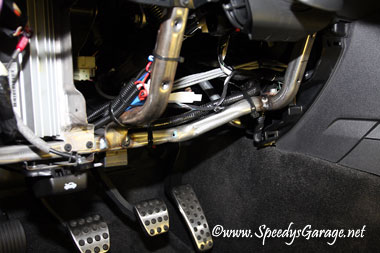
To wire up a car properly it takes a lot of time and patience. I spent 20 hours over 5 days making sure these gauges were wired up to OEM quality or better. All wires are color coded, protected in wire loom, and nearly all the connections are soldered. Follow my methods and you'll have wiring that will last the life of the car, be trouble free, and easy to perform any needed maintenance in the unlikely event an issue arises.
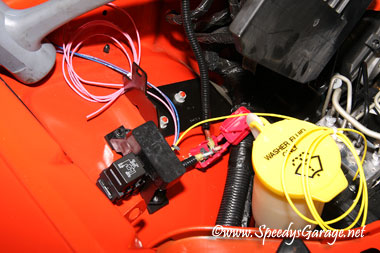
I also used a Cirkit Boss Auxiliary Fuse Block to isolate all my aftermarket electrical accessories like the gauges and LC-1 from the factory electrical system. This isn't required, but highly recommended so that none of your add ons can affect any factory systems.
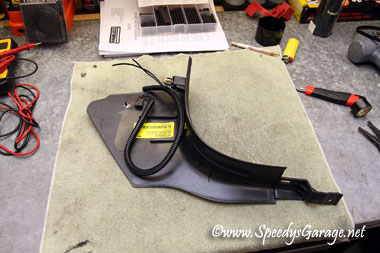
I used a Razor's Edge dual pillar pod to house the gauges. It fits well as it's made from a factory part, but it is a bit tight on the back side to get the wires run and the brackets installed. To finish off the project I also elected to use a Razor's Edge matching passenger pillar cover. It's basically a stock pillar cover that has the same material over it as the dual pod. It's the small details I appreciate and this makes everything look factory.
**TIP: In the video I make the brackets fit the Razor's Edge Pod, however, I later learned to just wrap the gauges with painter's tape so that they fit snugly into the pillar pod without brackets. This makes maintenance much simpler if the gauges need to be removed.